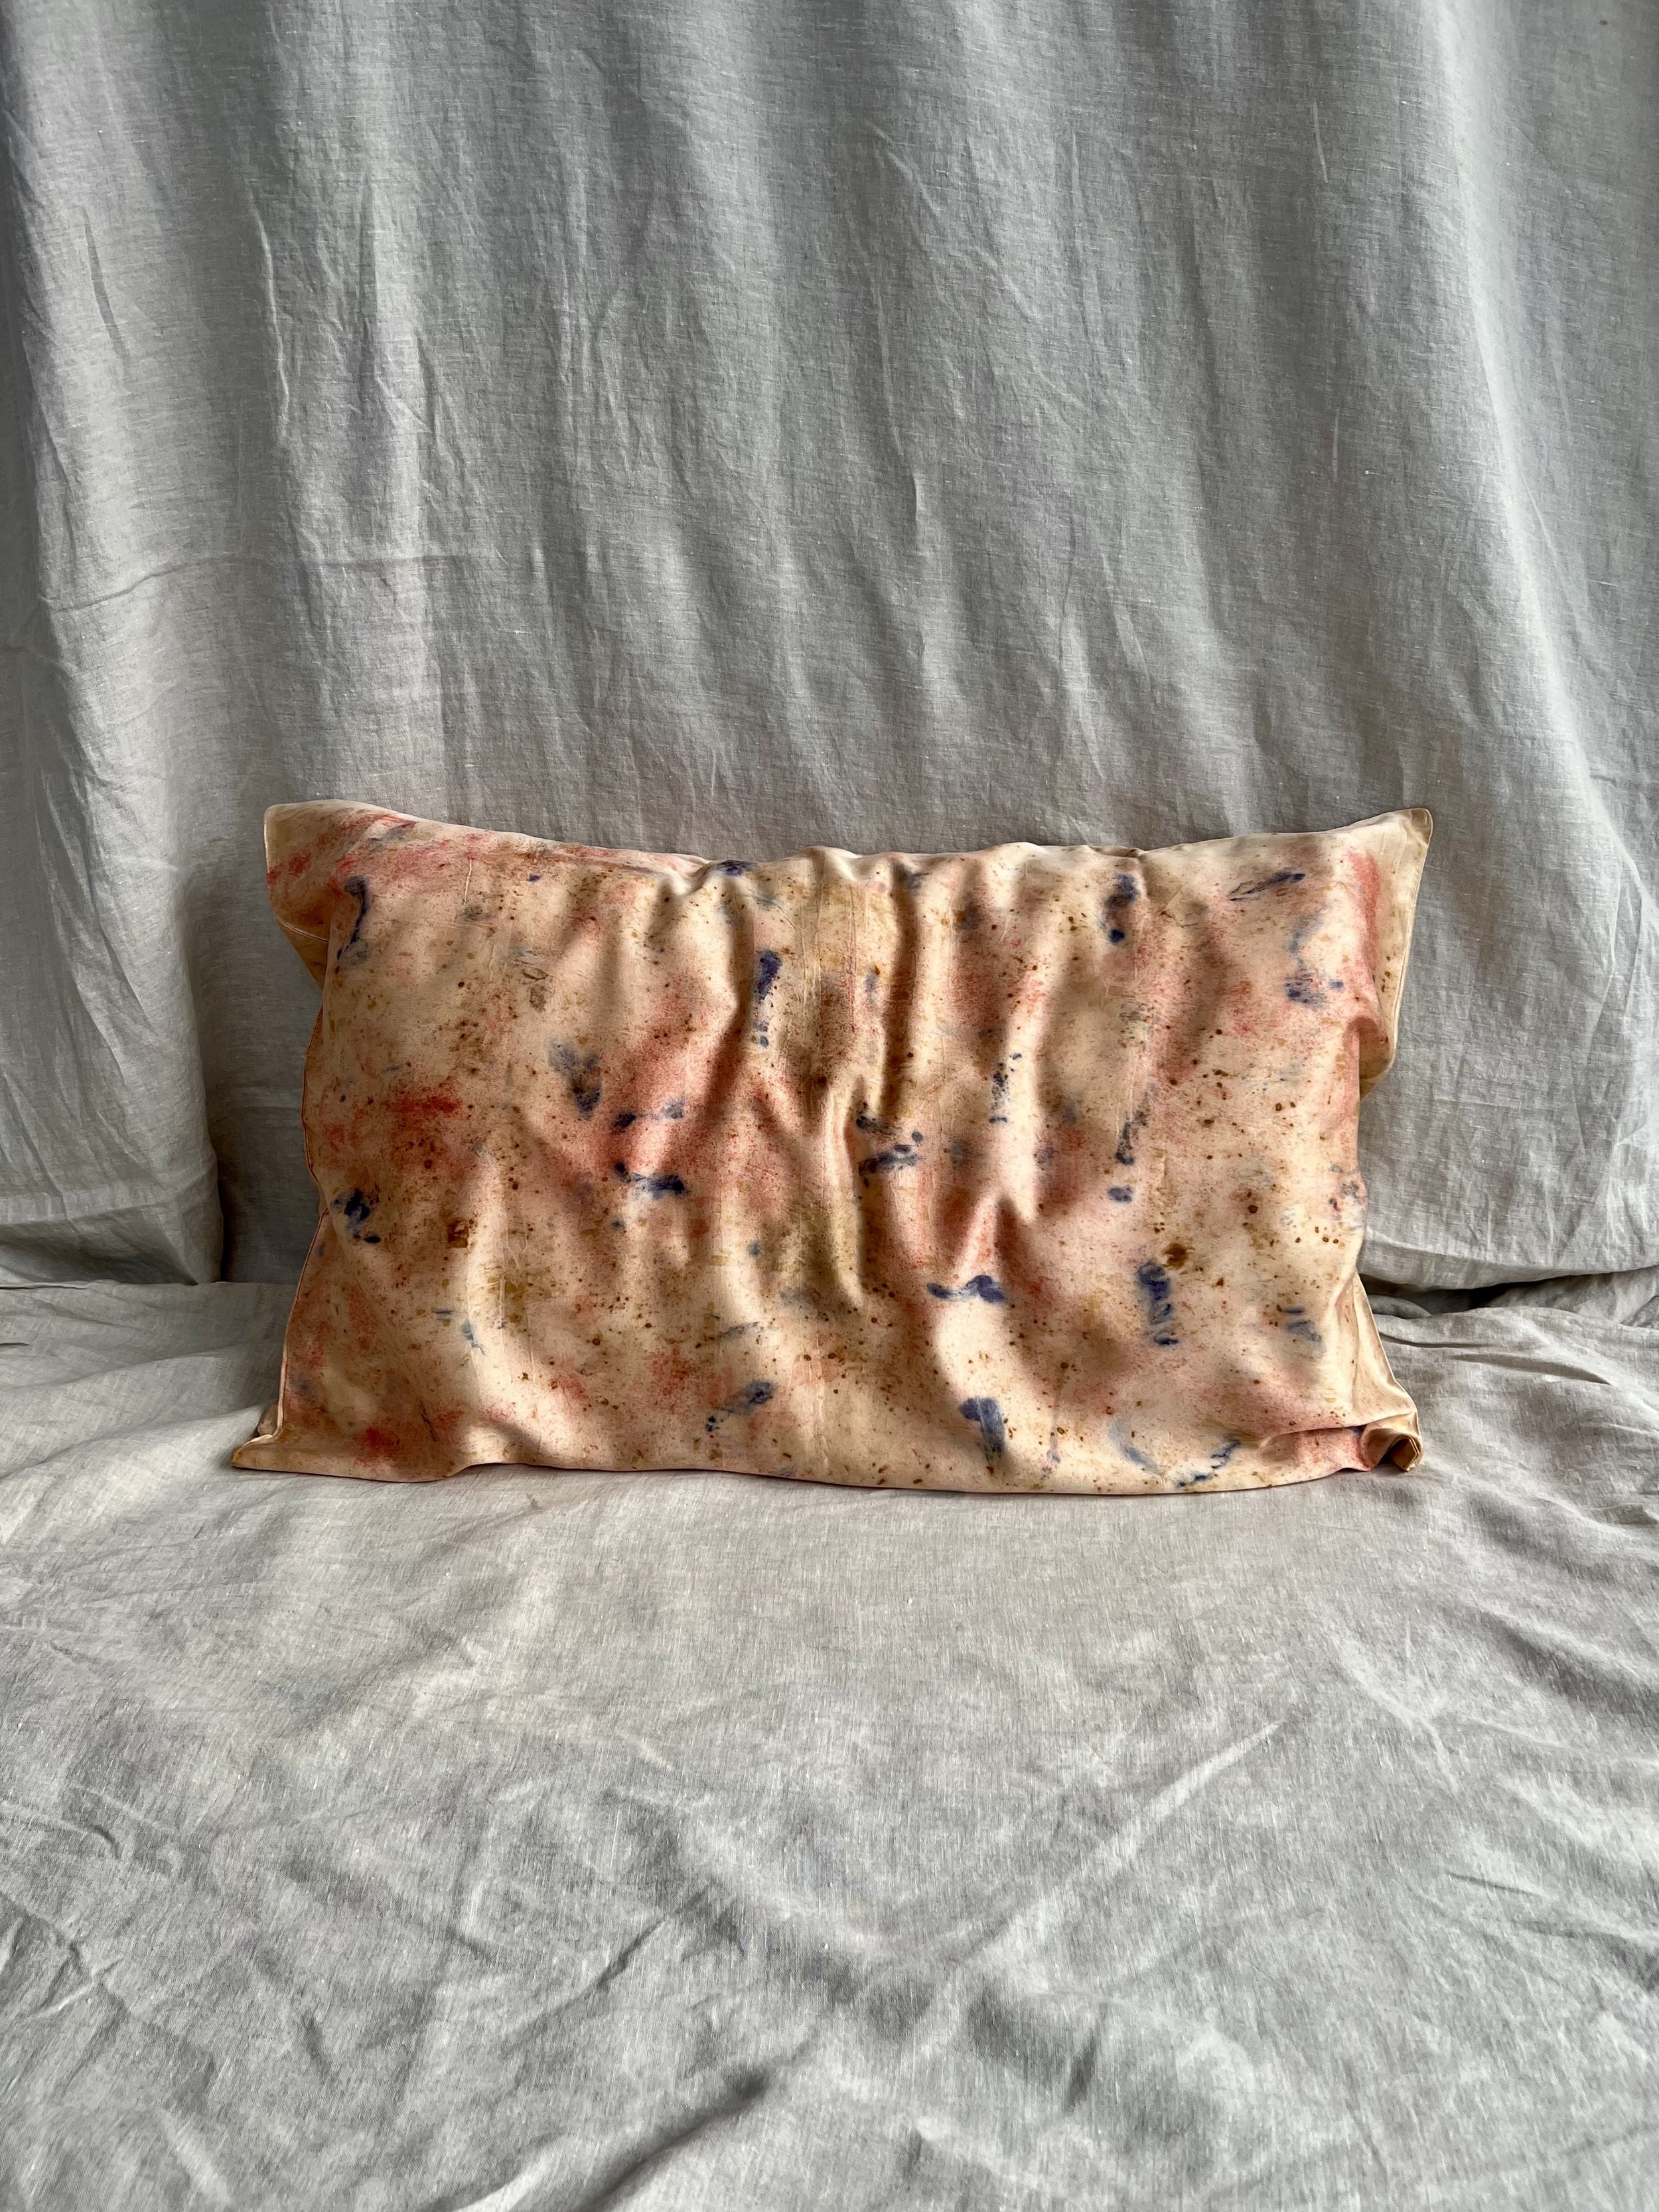
Natural Dye Recipe: Colour #10

This week I wanted to share with you exactly how I made Colour #10 of my new silk pillowcases. You can make this print using the ingredients found in our Natural Dye Kits, plus some local flowers you can find in your area!
This is how:
Mordant your fibres using the instructions in your dye kit. Dissolve 10% weight of fibre alum (ie 10gm alum for 100gm fibre) and add to a pot of hot water.
Immerse your clean, wet fibre (you can use any natural fibre like cotton, silk, wool or linen).
Place a covering over your pot to keep the heat in. *If you don’t have a pot, you can use a plastic bucket instead.
After 60 minutes, remove your fibre and rinse in cold water to remove any excess alum.
Lay your fabric flat on the ground or table.
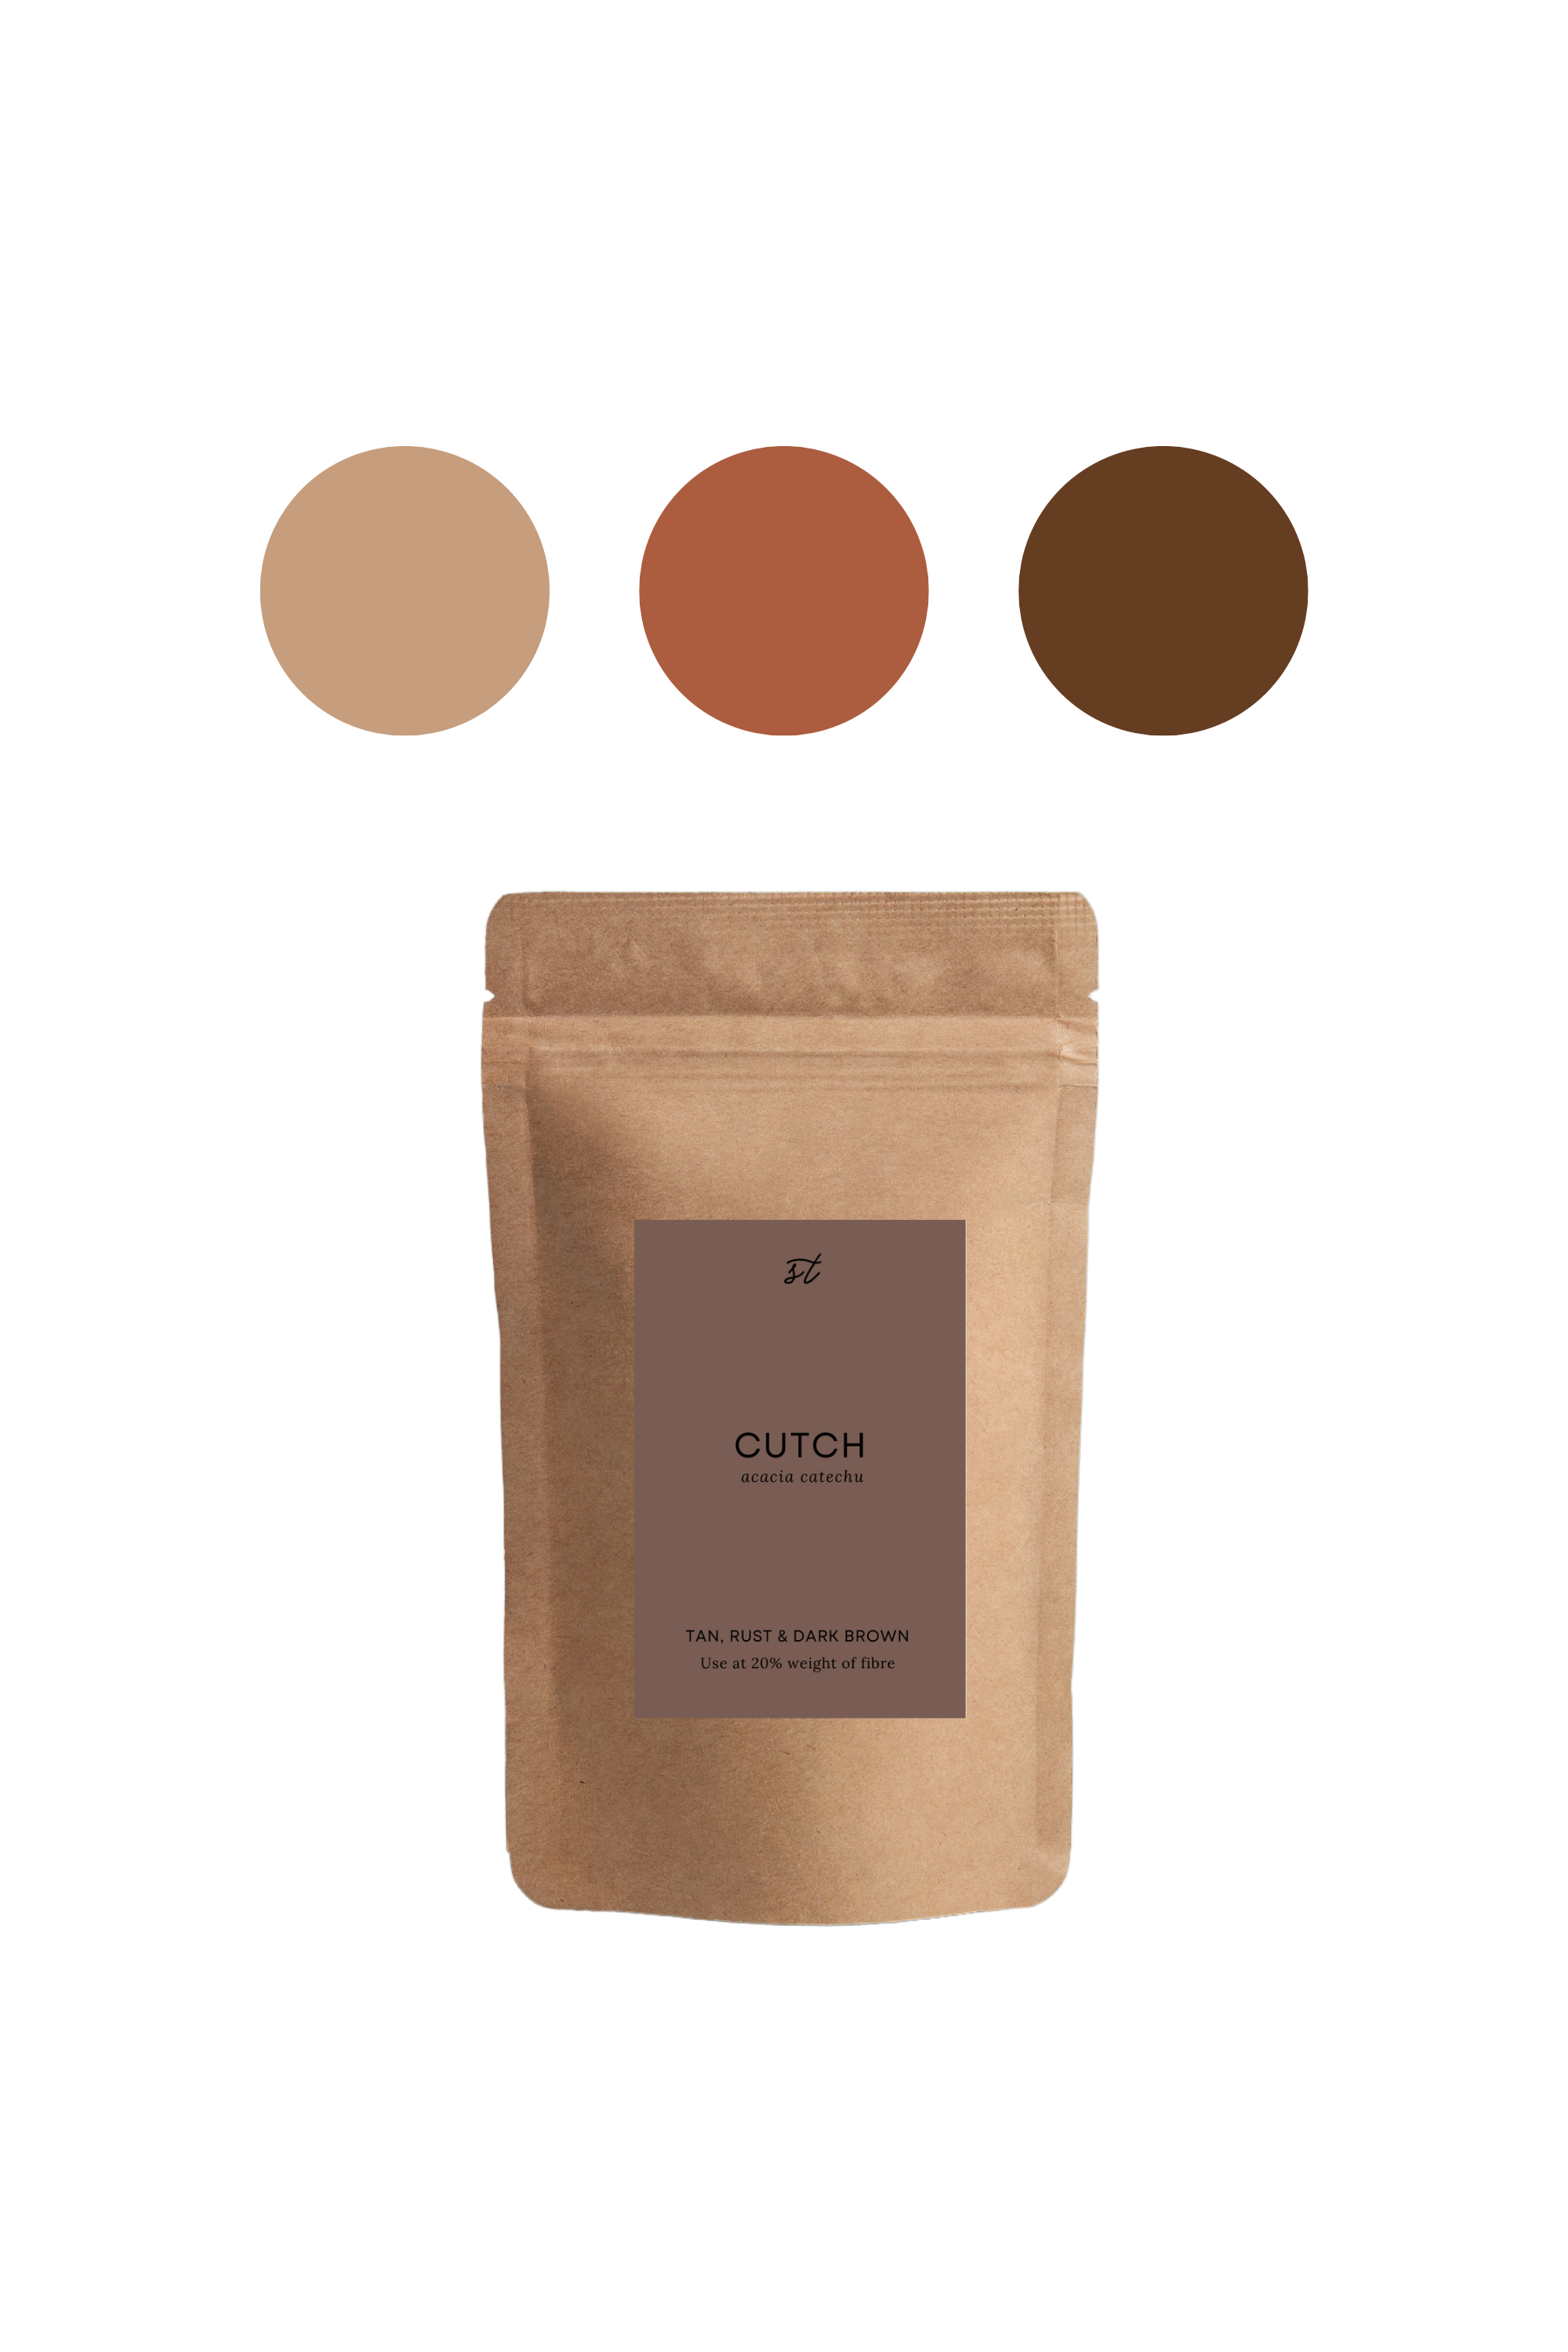
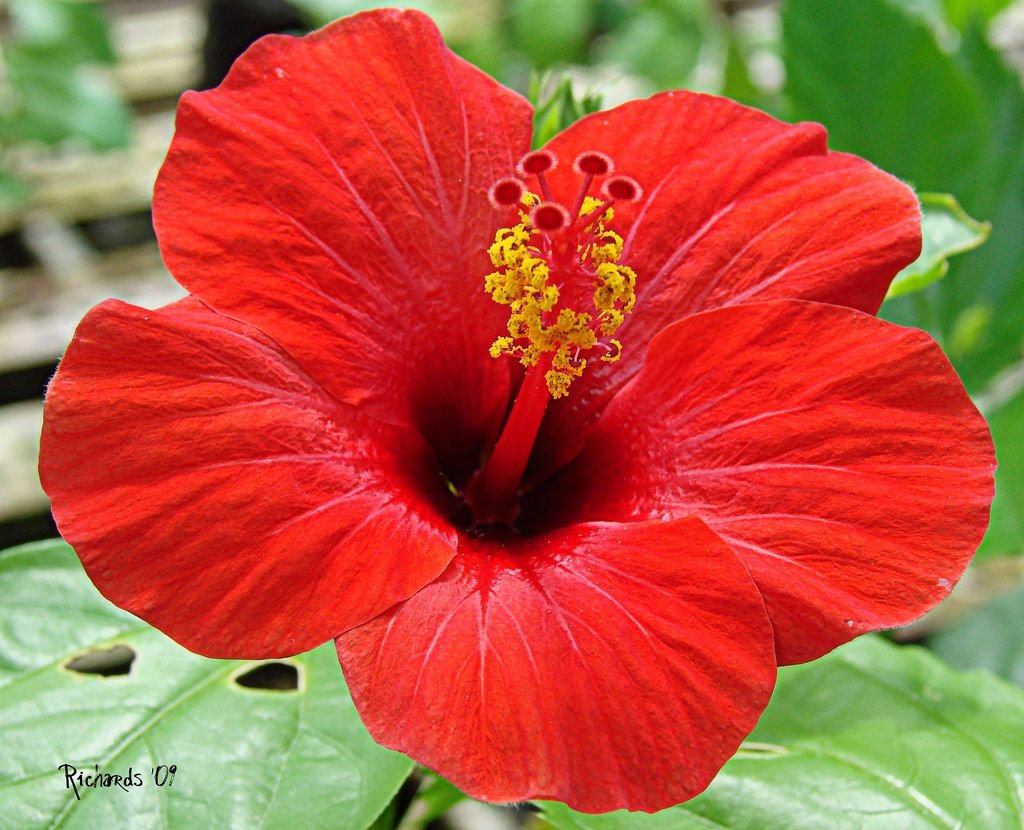
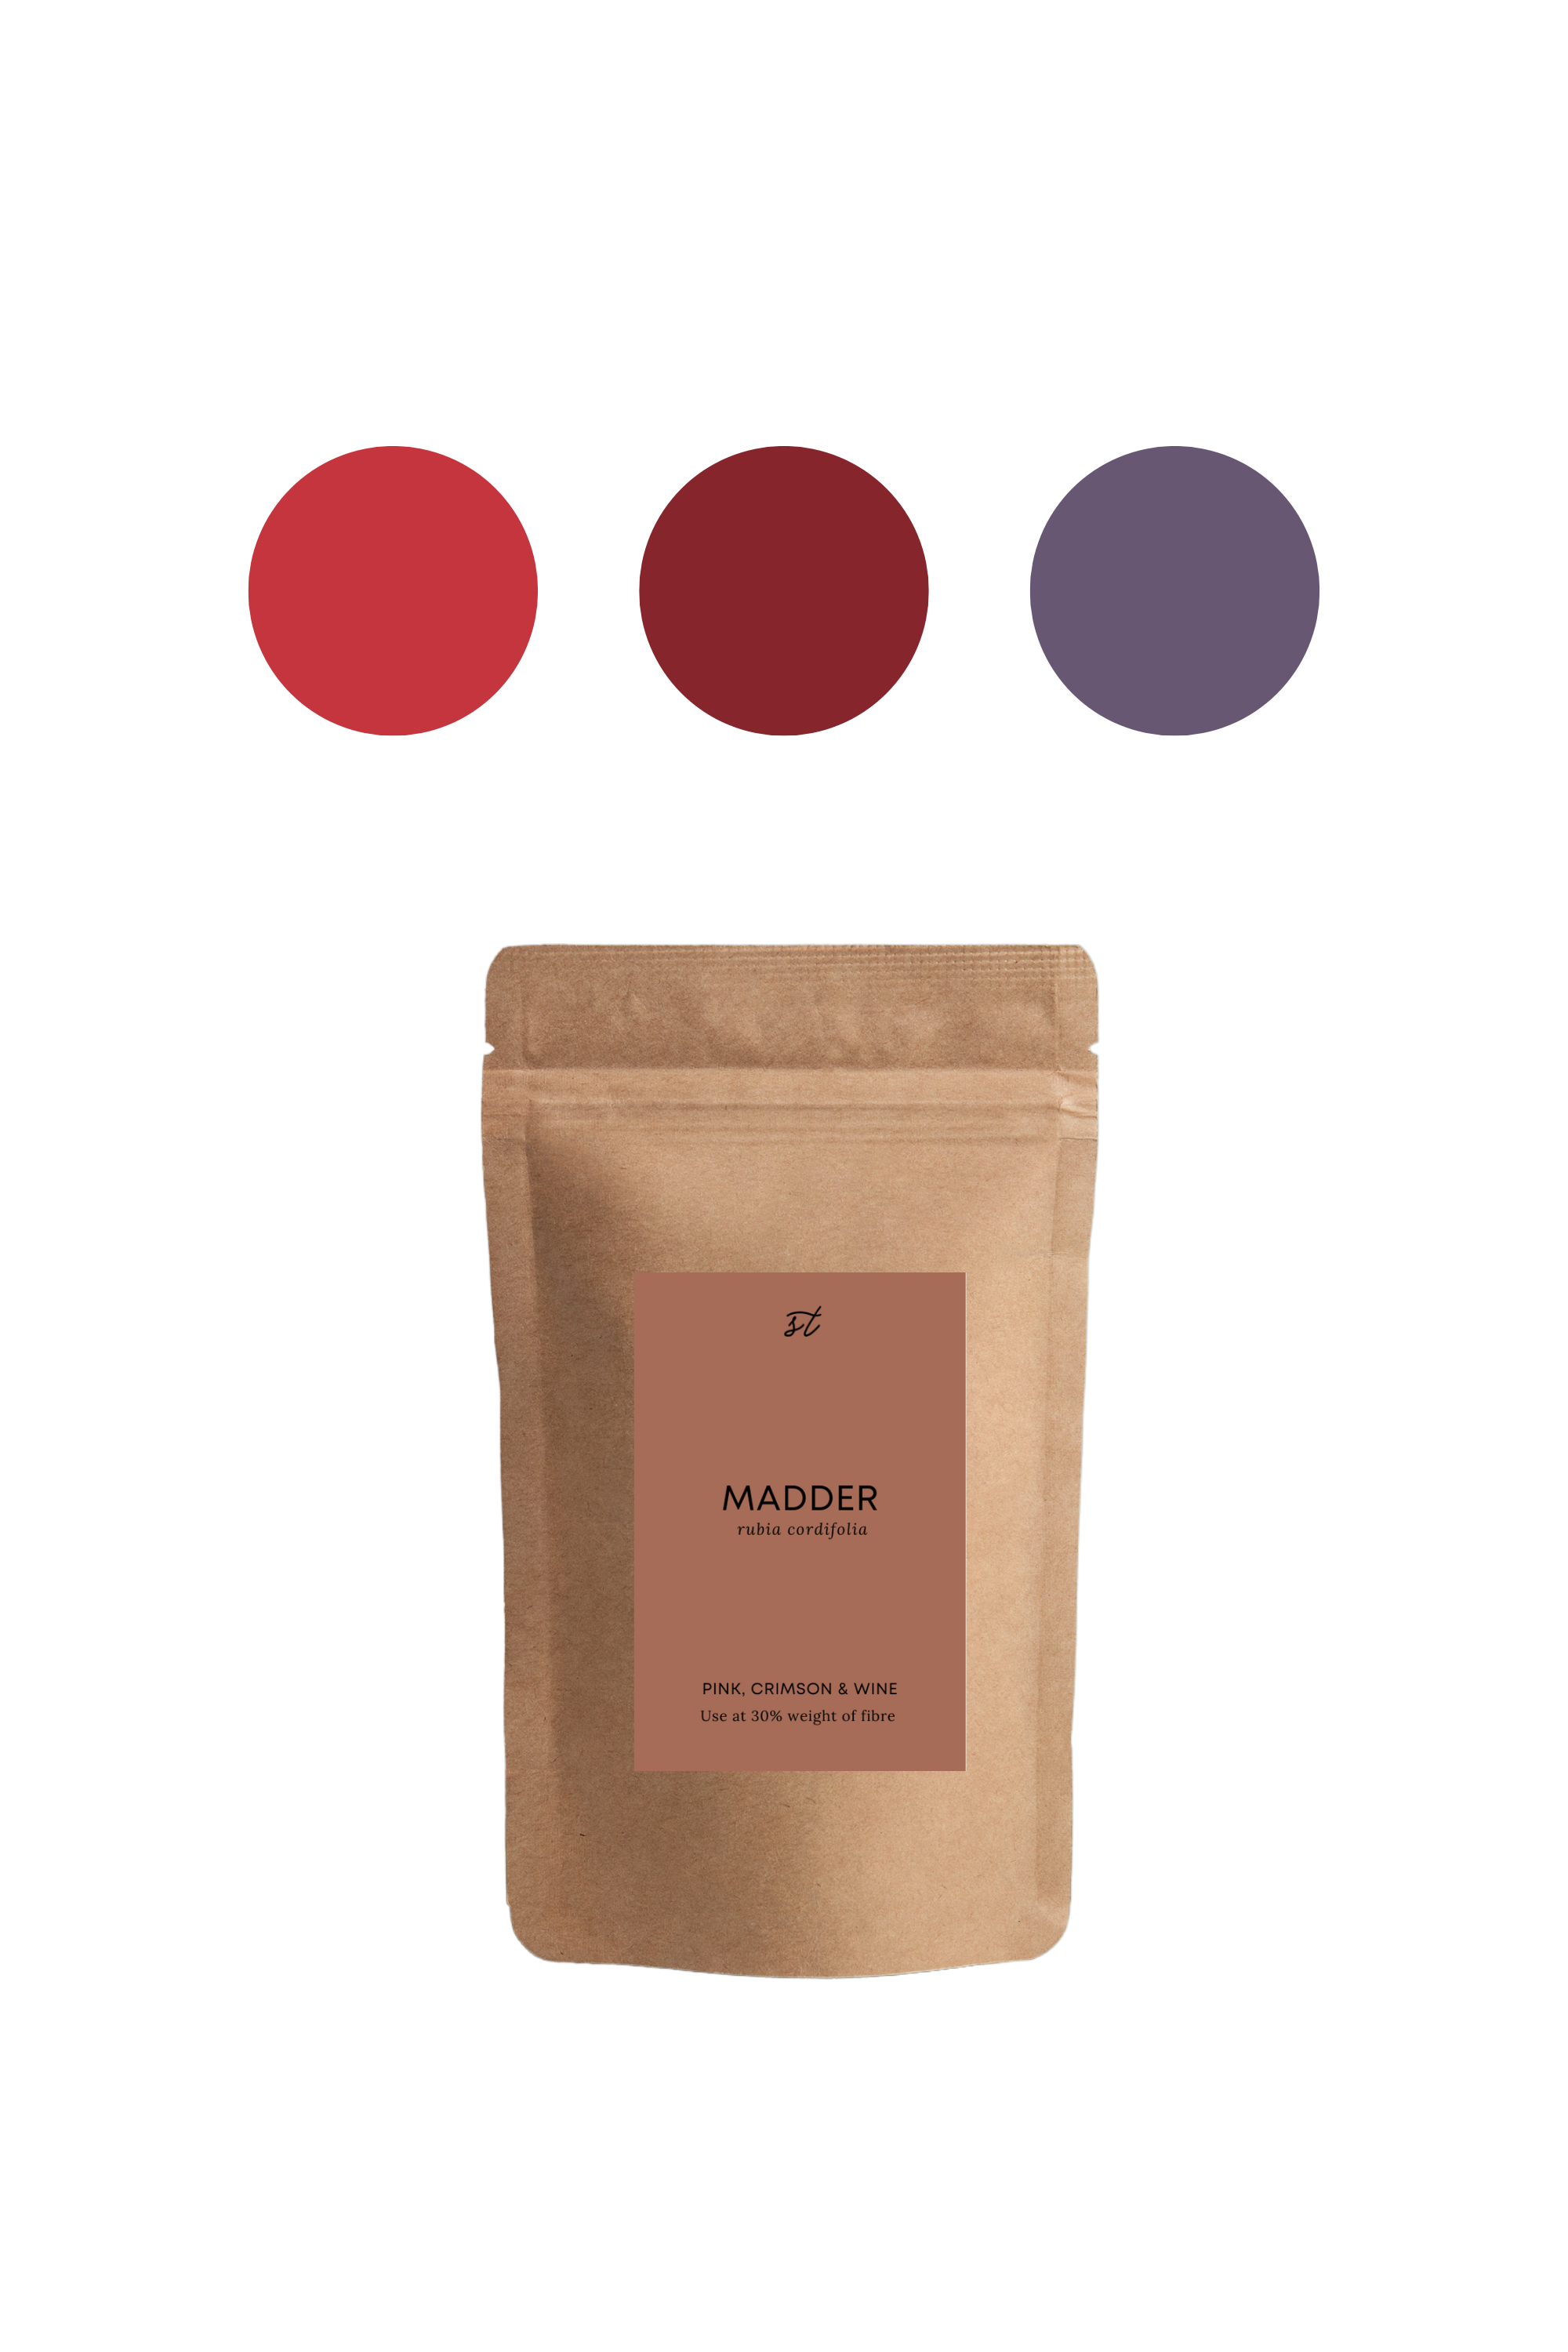
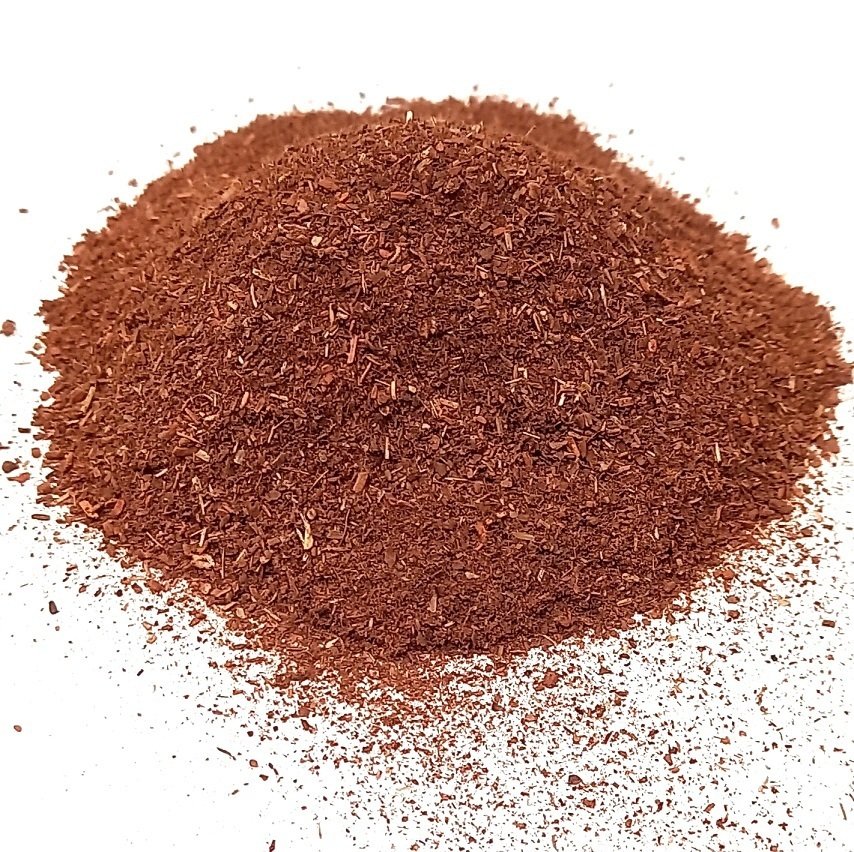
Sprinkle over madder root powder and cutch extract, followed by hibiscus flowers. *If you don’t have hibiscus flowers you could use hollyhock, pansies, or borage to get a blue print.
Roll up your fabric, making sure that the plants are pressing as closely to the fabric as possible for the best prints. You can use a PVC pipe or wooden dowel (or a rolling pin) to avoid creases and get the clearest prints.
Bundle tightly with a rubber band or string.
Place in a steamer for 30-45 minutes, depending on your fabric and plants. Heavy weight cottons and robust plants like eucalyptus leaves may require longer.
Remove your bundle and allow to cool. Unwrap for the big reveal!
Brush off any plant material and rinse in cold water. Hang dry in the shade.
If you’d like to shift these colours to brown and deep red, you can dissolve 2% weight of fibre iron in a pot of hot water and immerse your fabric for around 10-15 minutes. You will almost instantly see the colours darken.
You can find all the ingredients you need in our Natural Dye Kits!