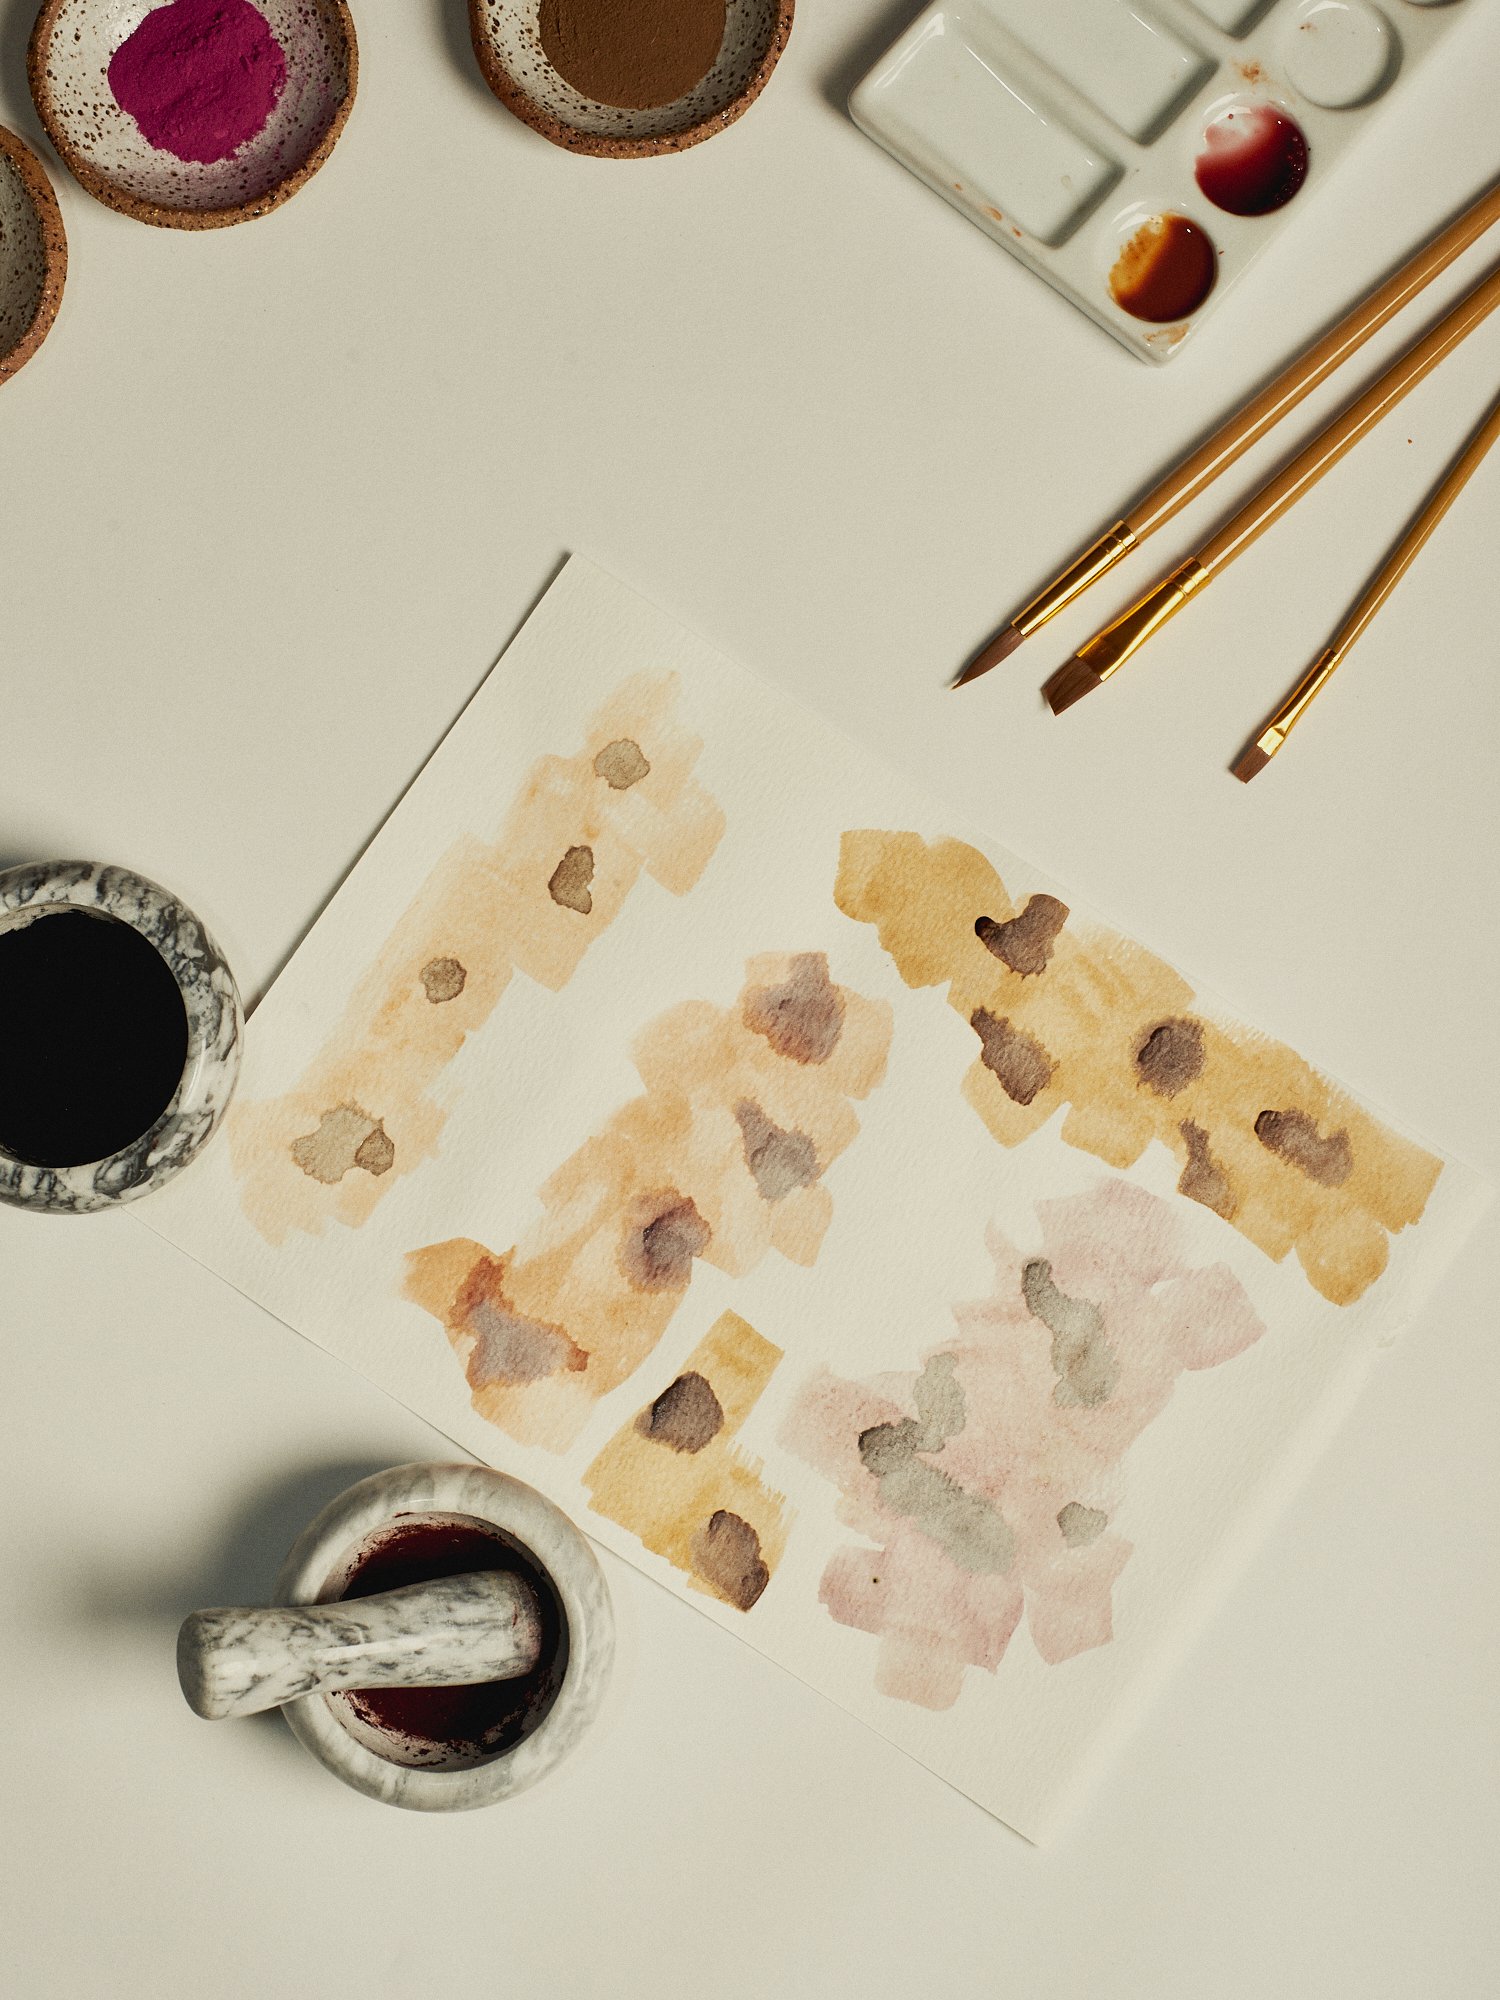
How To Make Natural Inks
Dye-based natural inks are essentially a concentrated version of your natural dyes with a slightly thicker consistency. The ratio of water to pigment is less, meaning that you can use your inks to paint onto paper or mordanted fabric.
The process is easy but varies slightly depending on what type of plant you’re using. Here are some general rules:
Flowers/berries/fruits/seeds: Flowers are delicate and you can often extract their colour using cold water. If you do use hot water, make sure you only heat for a brief period of time so as not to overcook them and get muddy brown colours.
Leaves/bark/wood: Leaves, bark and wood are generally hardy and require higher heat over longer periods. Eucalyptus leaves for example can take up to 2 hours of boiling to extract adequate colour.
Dye extracts: Dye extracts are the easiest type of plant material to make inks from. They dissolve easily in water and don’t require long period of heating. They usually don’t require straining. You can find these in Natural Ink Kits.
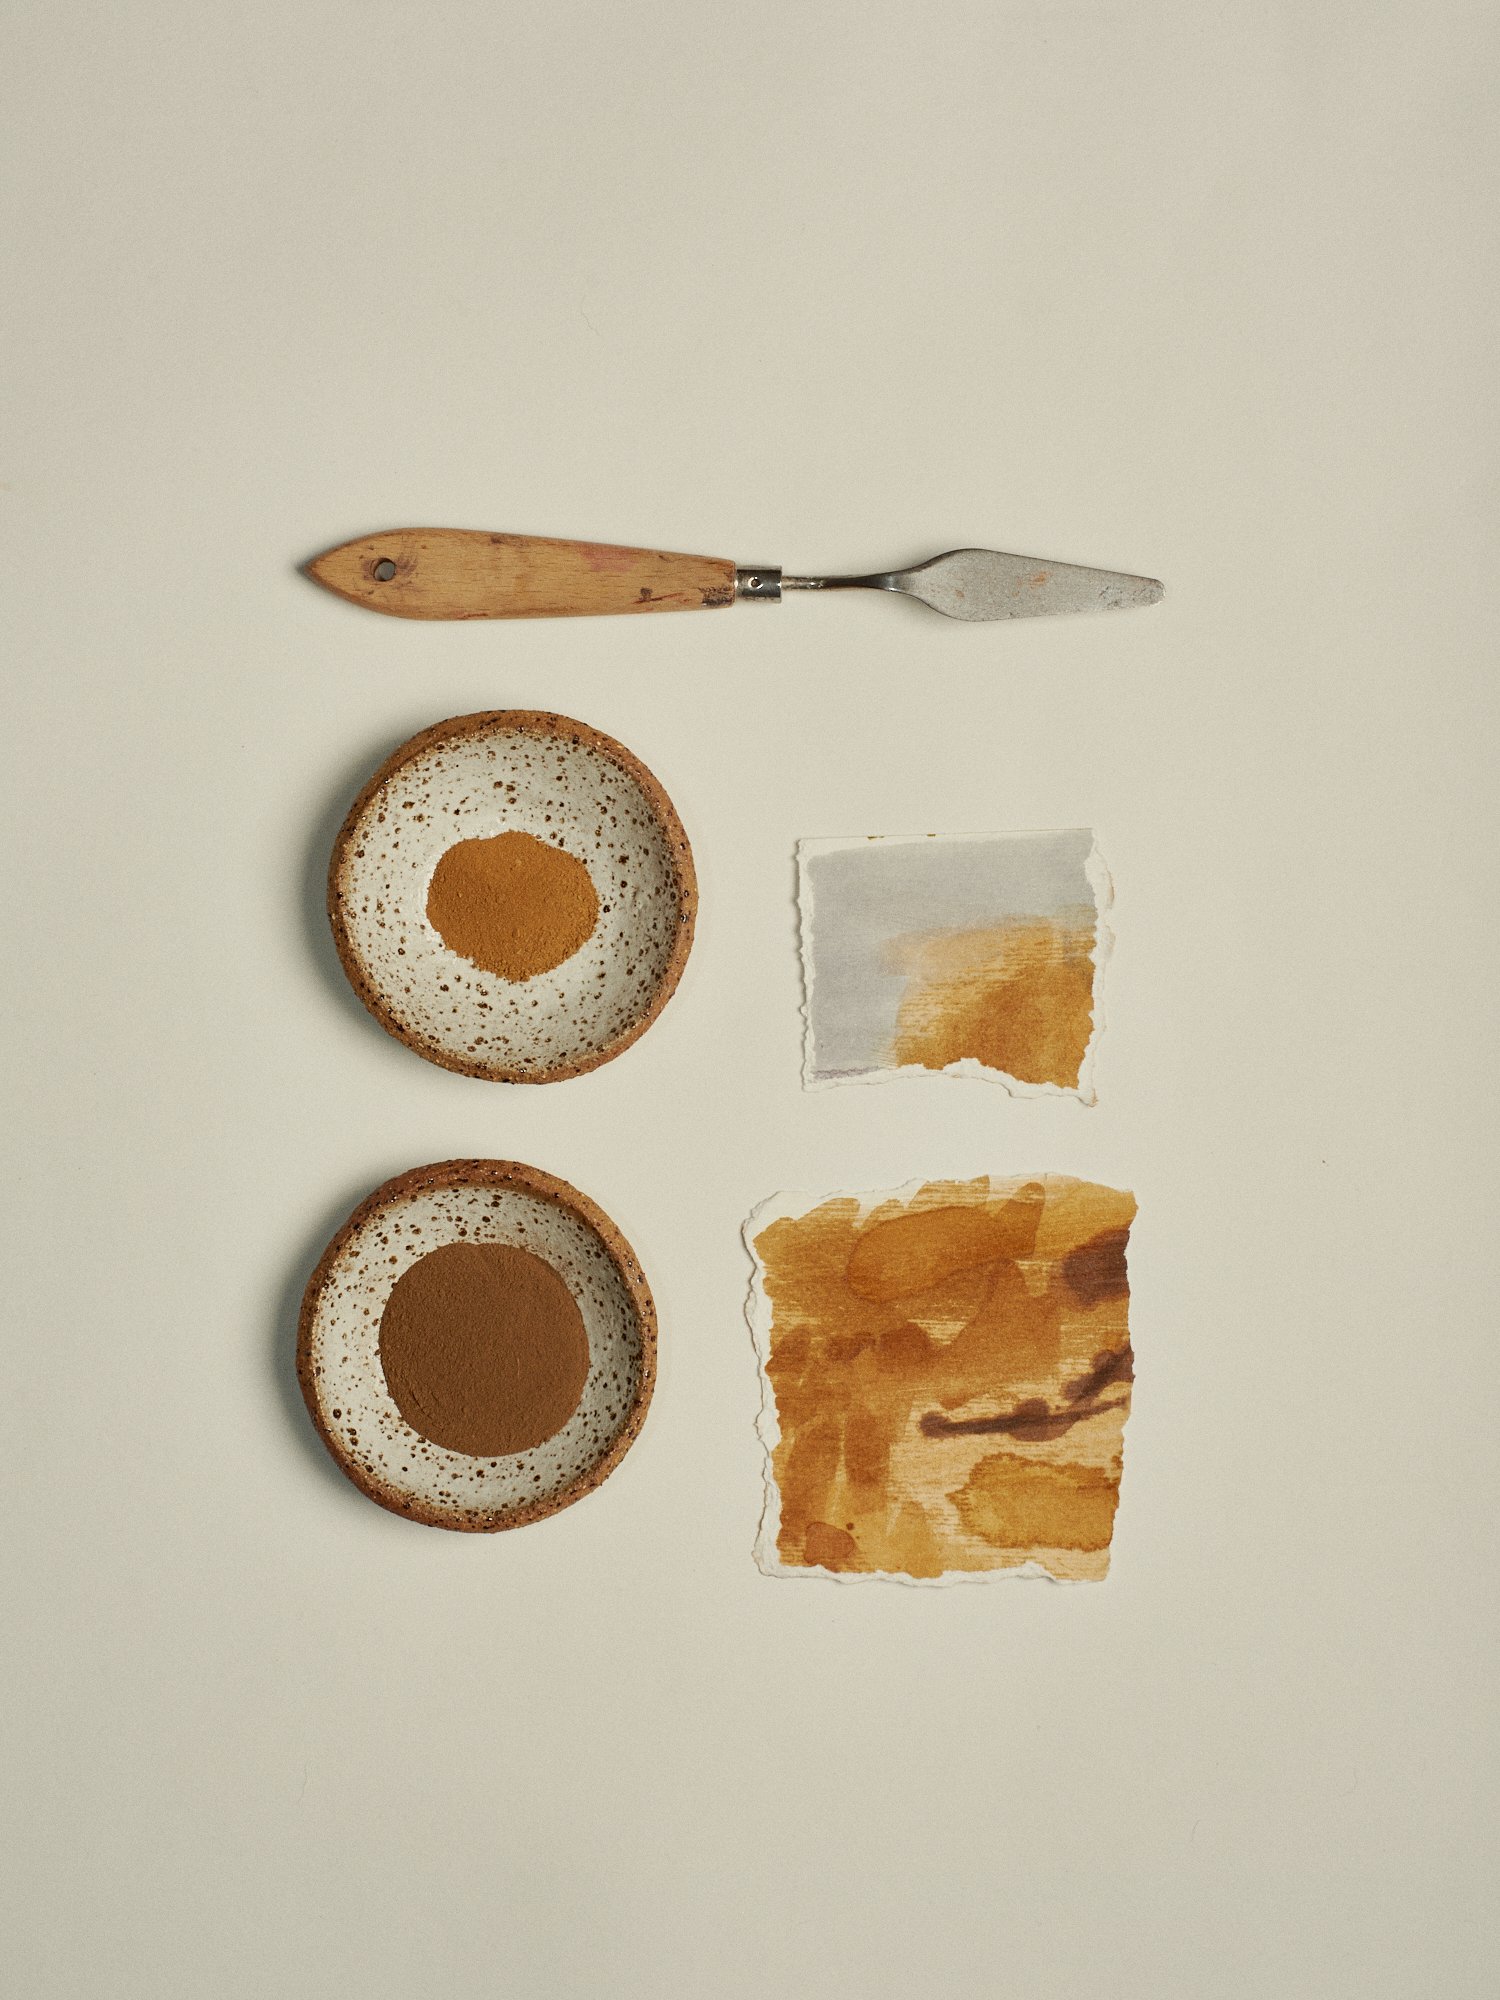
Dye powders: Dye powders are blended dye plants, so the way you treat them will depend on the plant. You can also find these in Natural Ink Kits.
Food waste & other plants: If the plant you want to use falls outside of the general categories above, you might need to do some testing. Onion skins, for example, can handle high heat without losing their bright colour. Avocado stones on the other hand need to be heated slowly over time or you will end up with a brown dye, rather than a bright pink.
General ink making instructions:
1. Take one handful of raw plant material, or one teaspoon of dye extract or powder and add 1-2 cups of water.
Tip: Some plants can't handle high heat and need to be slowly simmered (e.g. most flowers, avocado stones) and some plants need high heat to extract the pigment and need to be boiled (e.g. eucalyptus leaves, pomegranate rinds).
2. Heat your plant material down until you have a small amount of concentrated liquid left in the pot. Strain your liquid through a sieve or piece of fabric and into a measuring cup to let cool.
Tip: The less liquid, the more concentrated your ink will be. If you were dyeing a piece of fabric, you would need more water. Because you are making ink, you can cook down your solution until you have a small amount.
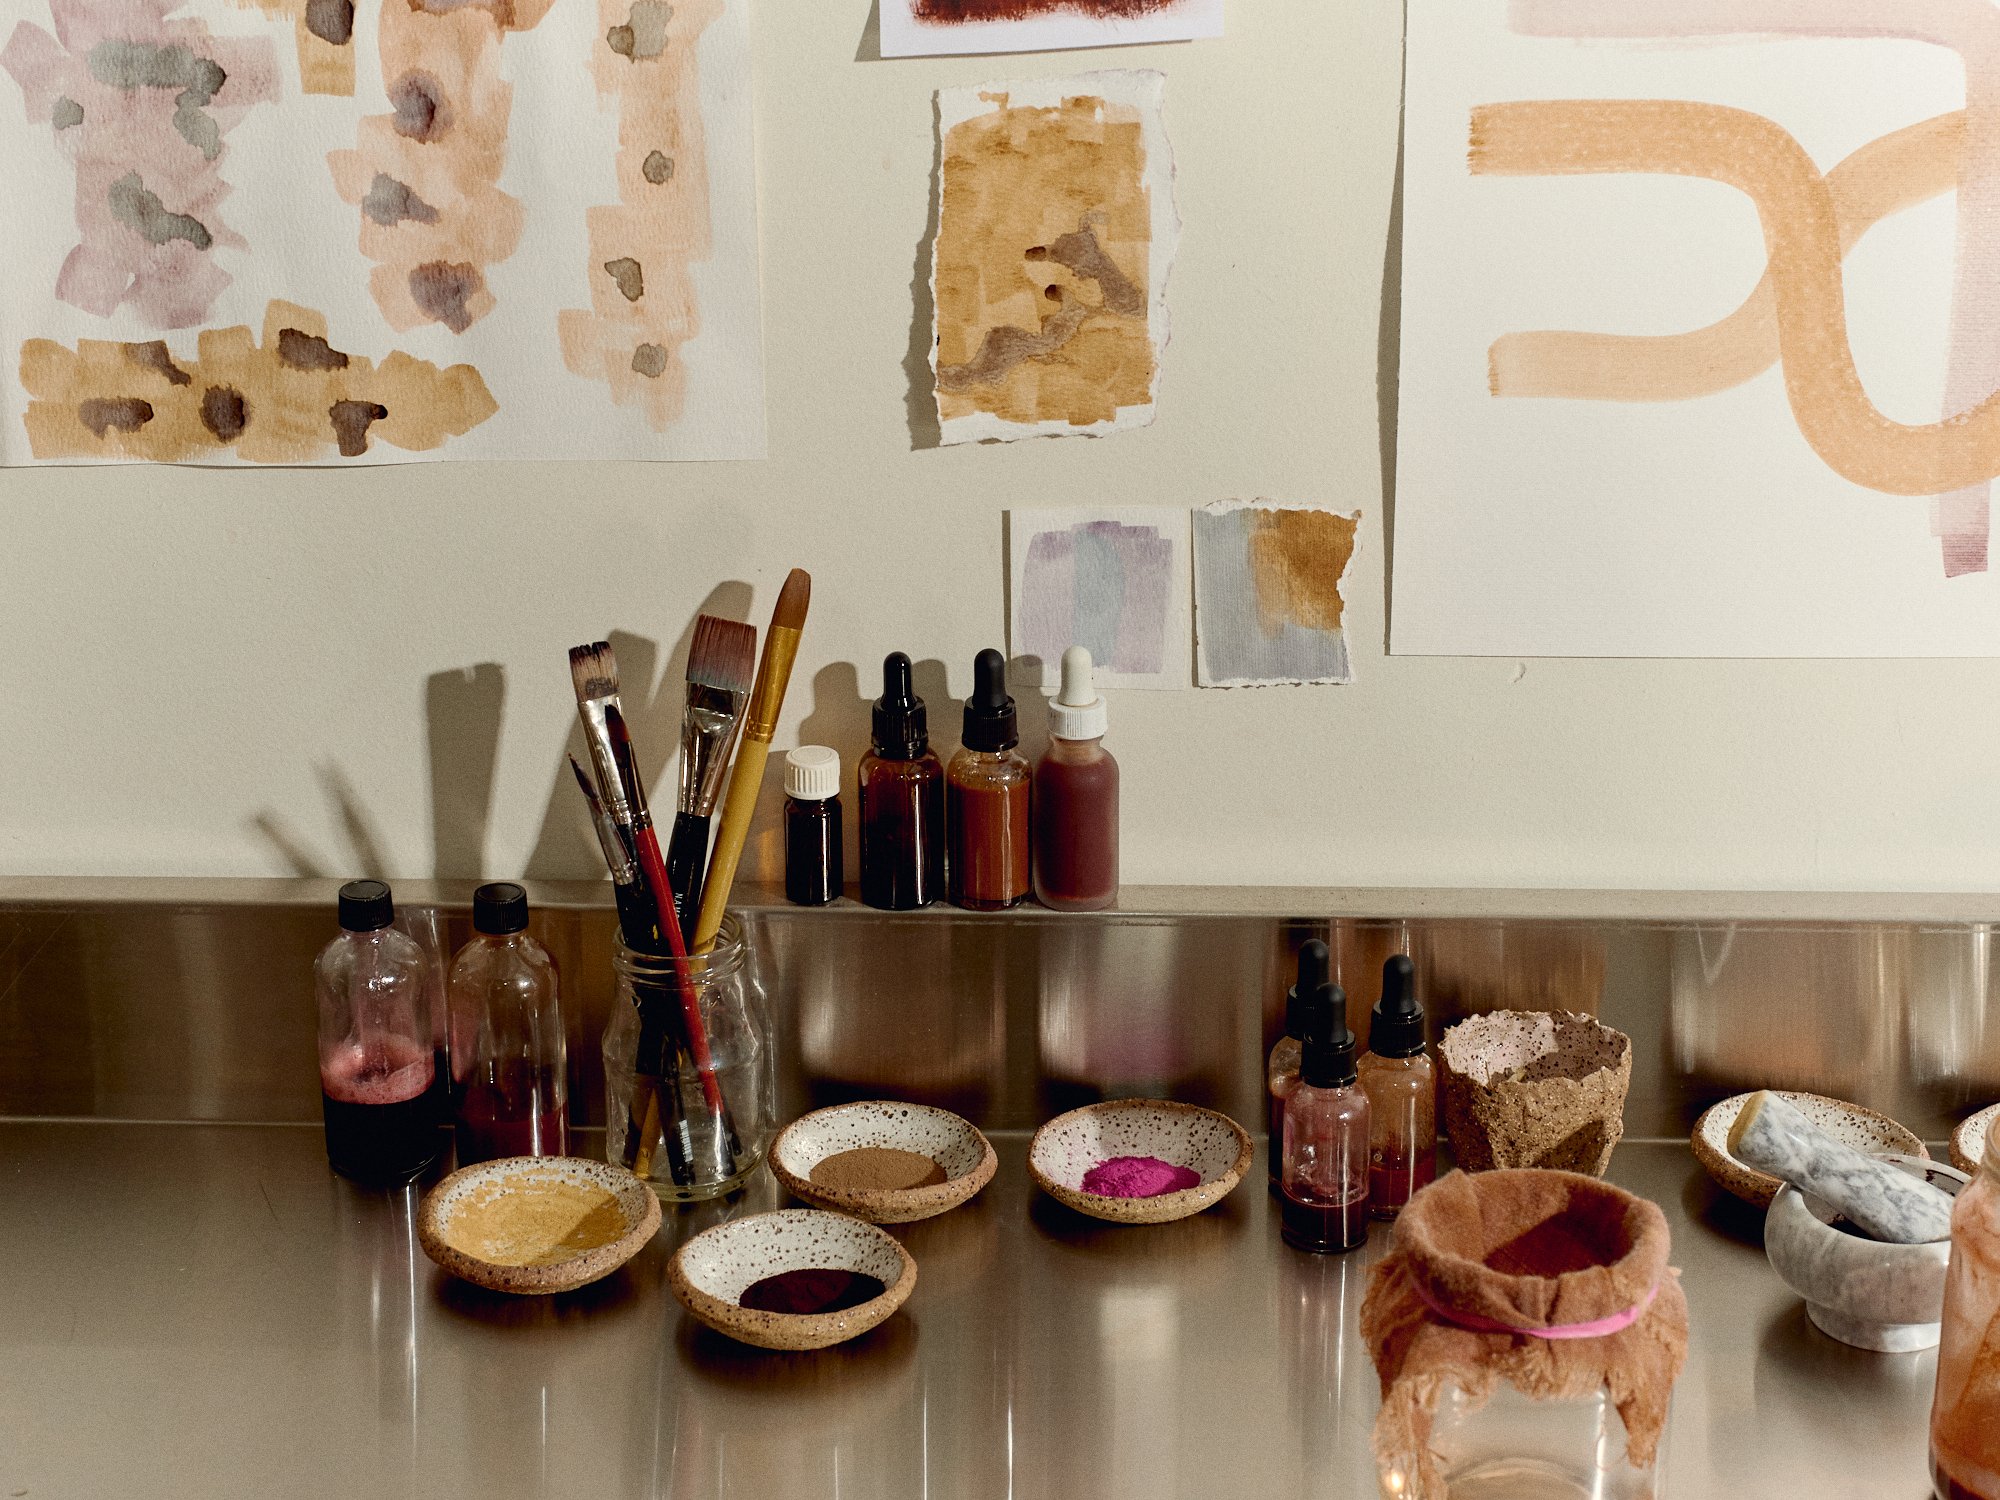
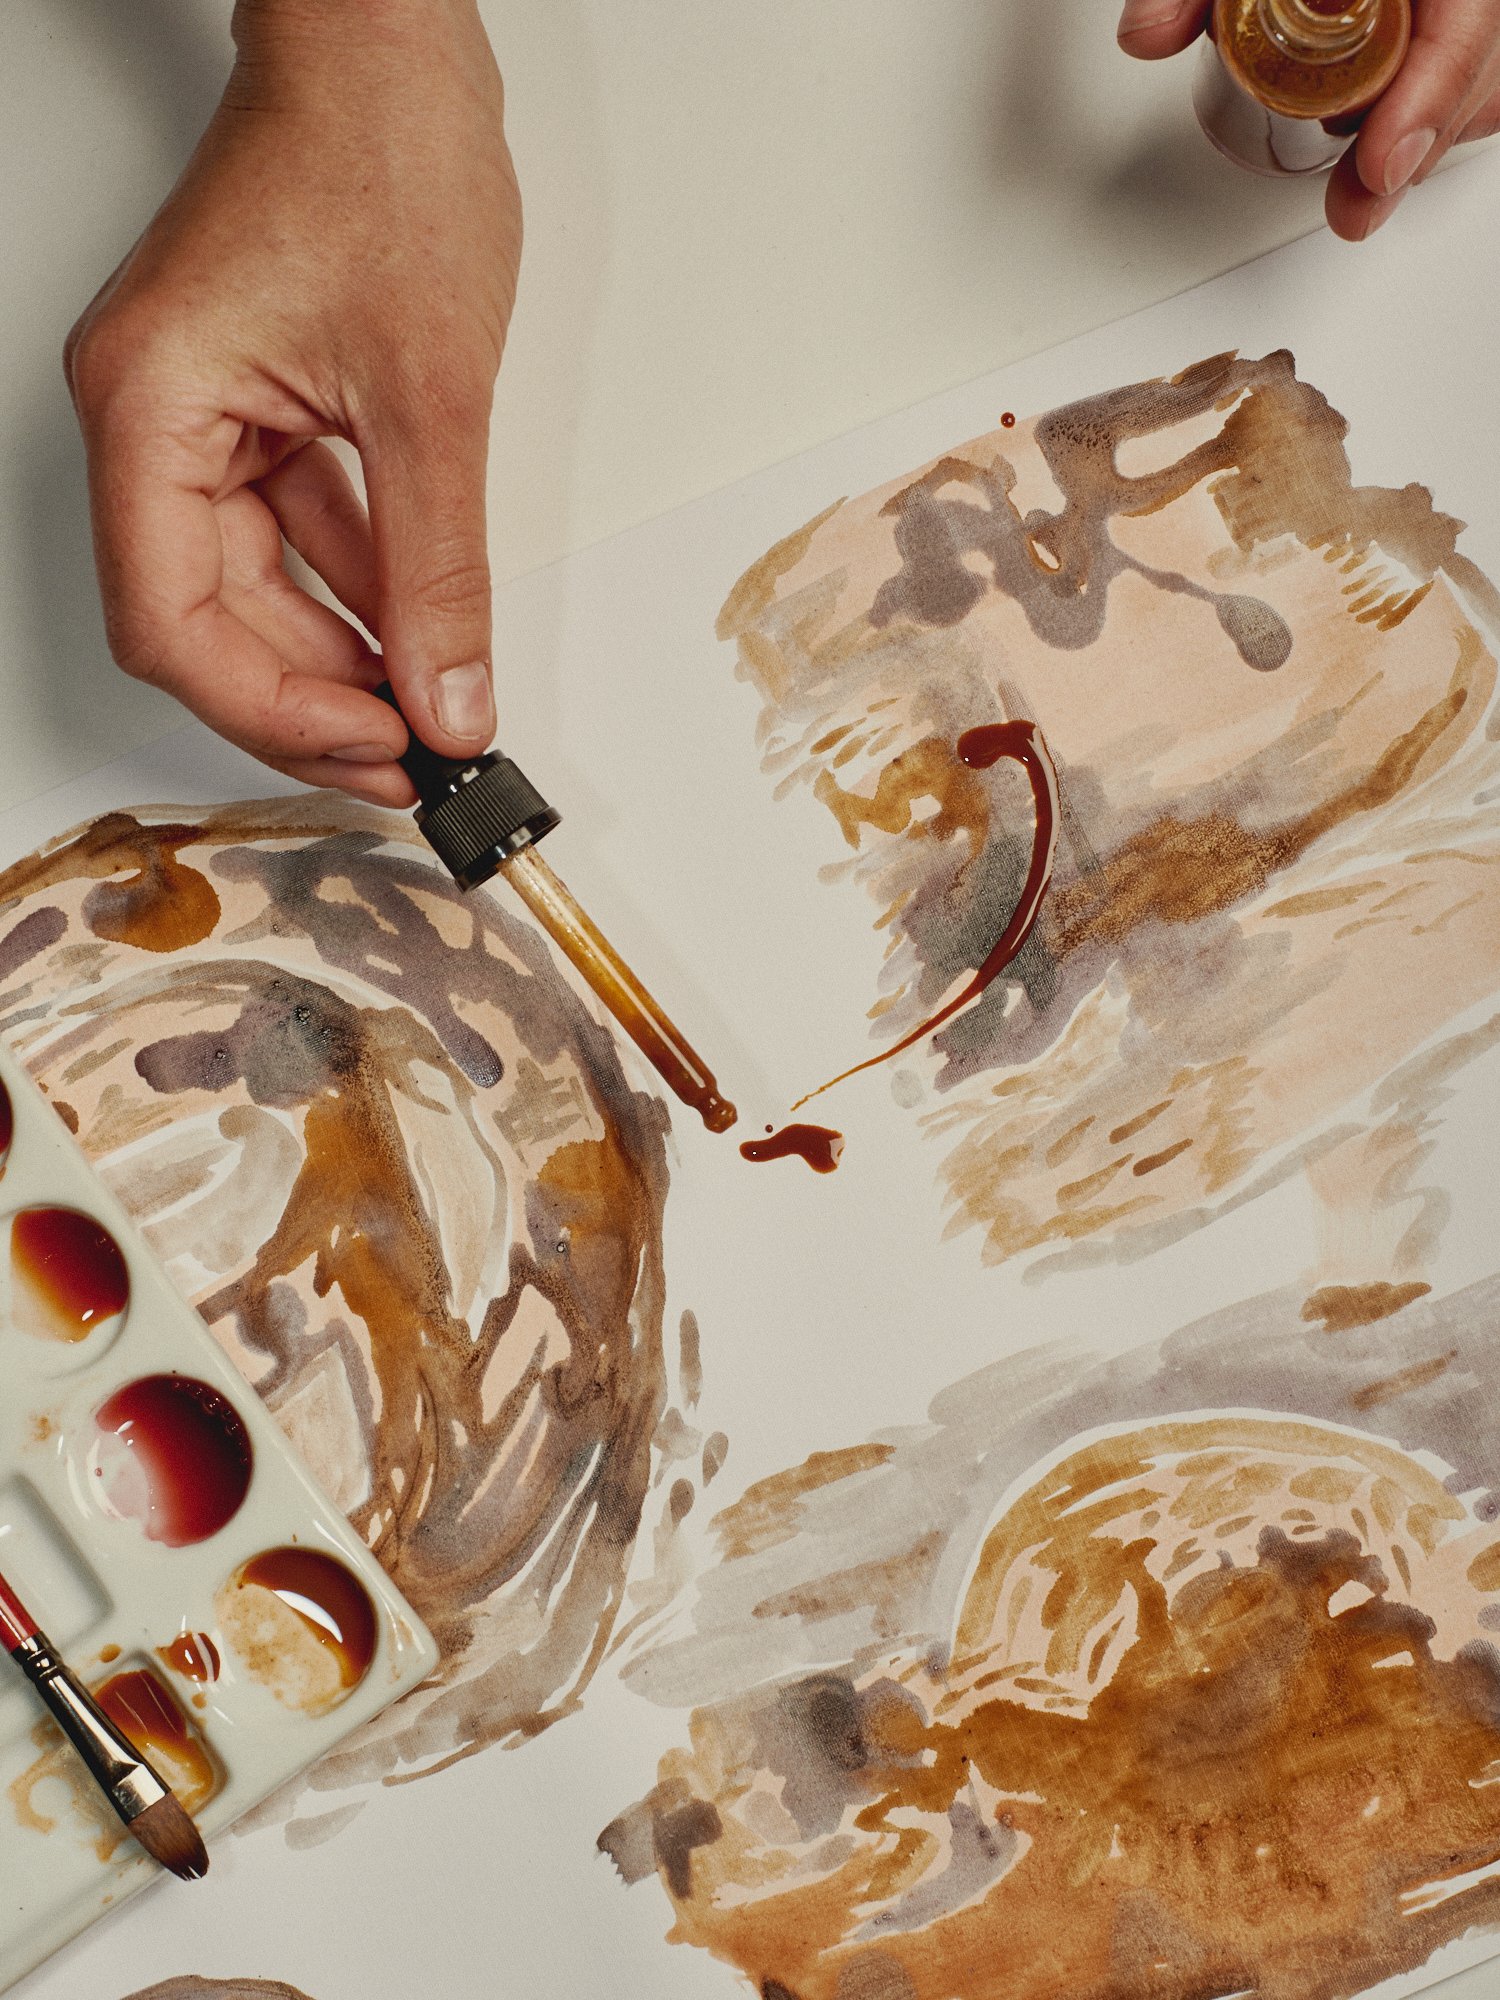
3. When your ink has cooled, pour it into a small bottle (preferably one with a dropper for easy use).
4. You can now play with the pH of your ink in order to change the colour, by adding an alkaline or acidic ingredient to your ink (e.g. lemon juice or washing soda). This means you can create multiple colours with just one plant.
5. If you'd like to experiment with the consistency, you can add some gum arabic to thicken the solution. Start with 1 teaspoon per 60ml while the solution is still warm.
6. To preserve your ink you can add a few drops of essential oil (roughly 2 drops per 100ml) or a whole clove. Store in fridge to extend life.
Now, time to play!